Techniek - Plastic Weld for the lock ring of a JVC GY-HM750 viewfinder
If you have been looking around on my website a bit more, you know I've dedicated a few pages on gluing things together.
In those cases, I strenghtened the bonds by adding some metal wire.
This time, I can't use anything to create a stronger joint, as the plastic is too thin.
A broken lock ring on a JVC GY-HM750 viewfinder
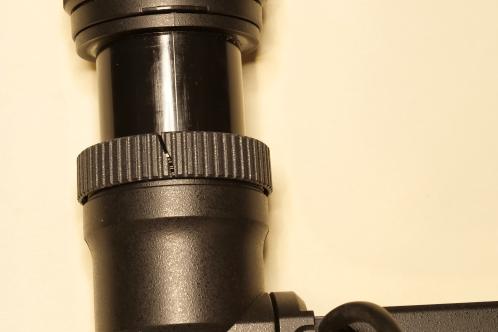 November 2020 is when I suddenly noticed that the viewfinder would not stay put in its set position after turning the ring.
It didn't take long to find a crack in the ring on the viewfinder.
Being the thunderstorm-enthusiast that I am, this could easily have happened while trying to get into a car quickly. Bumping into something by accident during something like that isn't that hard. Let's try to fix it!
Where this article talks about the GY-HM750 (and it's subversions), the viewfinder on the GY-HM850 (and it's corresponding subversions) is identical as far as I know.
Opening the viewfinder
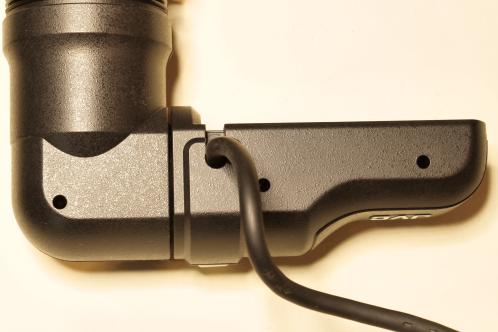 As the ring is made of a mixture of polycarbonate and ABS, Plastic Weld by Plastruct is the weapon of choice.
To weld the ring, it's a good idea to disassemble the viewfinder. It's a rather tough job if you don't and you run quite the risk of welding the ring to the rest of the viewfinder.
Start by turning the viewfinder exactly horizontal.
Then place the viewfinder with the upside down and remove the three Phillips-screws, two in the non-moving part, one in the rotating part).
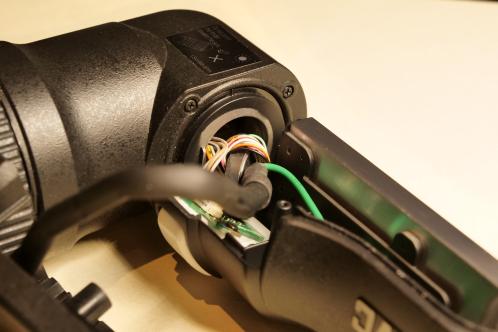 Grab both parts in such a way they can't fall apart and turn the viewfinder 180 degrees. The eyepiece should now point in the same direction as the JVC-logo on the part that normally mounts to the camera.
Then remove the two screws on the rotating part. You'll have to rotate the viewfinder a few times when you do this, as reaching for these screws is a bit hard.
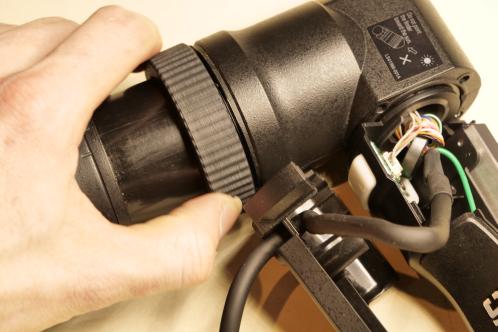 Now fully unscrew the lock ring that usually locks the eyepiece.
Caution! Fragile parts!
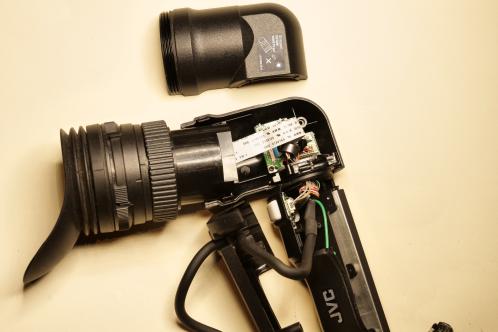 Carefully remove the top-cover from the rotatable part of the viewfinder.
Attention: there's a small notch at both sides where the lock ring meets. Both are very vulnerable to breaking (guess how I found out about that).
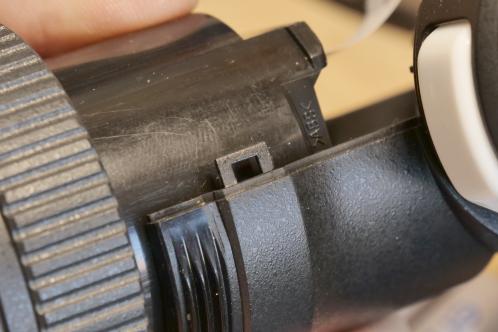 One of the two notches on the viewfinder that are so easy to break!
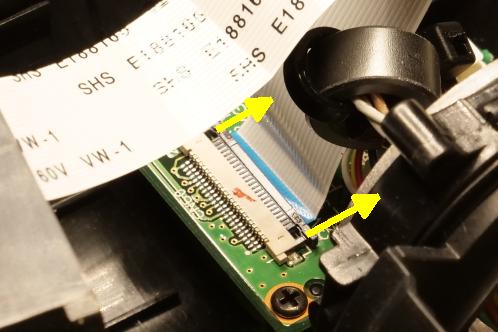 Unlock the clamp from the flatcable connector by gently pushing it away from the connector (in the direction of the yellow arrows in the picture)
Removing the ring
Now first remove the ring marked with '1': this can be bent open gently and keeps the lock ring from being removed.
After that, the lock ring (2) can be removed.
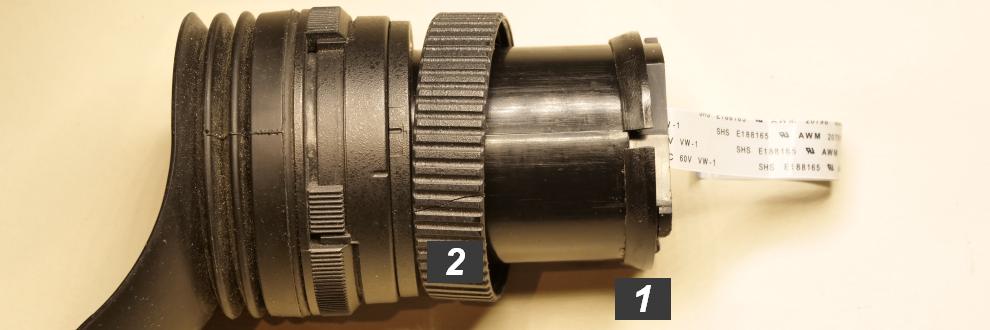
Applying Plastic Weld
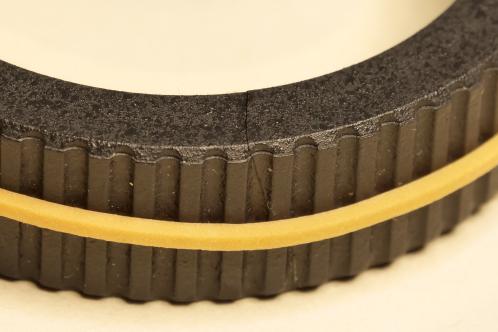 After applying Plastic Weld on the joint, it's best to hold the part for a few minutes. After that, you can wrap an elastic band around the part to exert some pressure on it.
Do NOT place the elastic band around it before you apply the welding-fluid, as it most likely will eat the band away (and then snap as a result) or it will glue itself to the ring.
 After waiting for sufficient time (I applied the stuff and then went to bed) you can then put everything back in reverse-order.
As said, I then found out these notches had basically snapped. Fortunately, Plastic Weld here also was my saviour and made such a strong bond that both notches produced a nice 'click' when I assembled the viewfinder again.
Done!
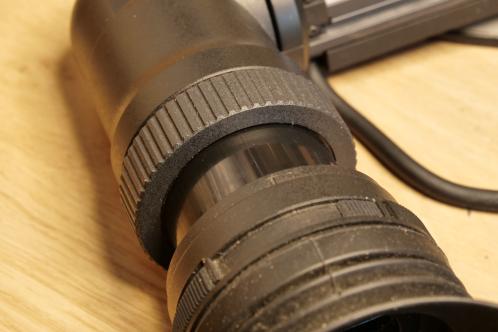 After putting everything back together the ring is back to its original strength, although I always exercise a bit more care after welding.