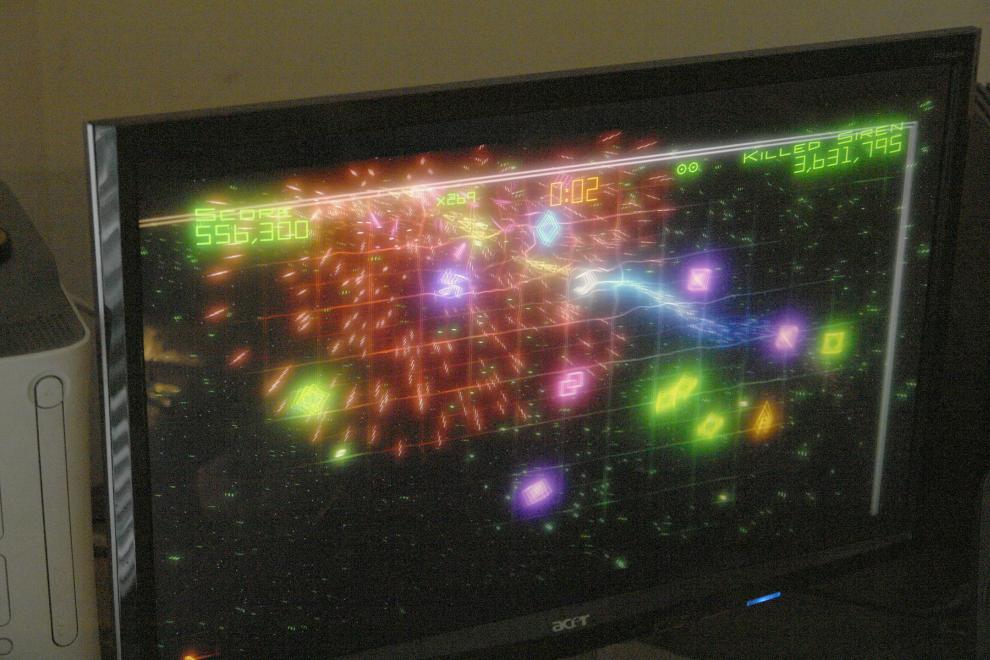
Technique - Fixing Acer P223W TFT monitor
In the category of 'Suspected bad caps', this Acer monitor from a friend of mine was one of the candidates.
From one day to the other, the thing stopped working. The power-LED kept flashing on and off continously, while emitting a 'tick' sound.
 These kind of malfunctions are the best symptoms of capacitor problems, because it has the typical appearance of a power supply that tries to start but is unable to do so because it got cold or just is so far gone it isn't stable at all anymore.
Opening it
The monitor was opened. Unfortunately, many things are clicked into place and some damage was inflicted in some places. As my friend was already down to the point of 'It's broken already', he didn't mind some spots from trying to pry the casing open.
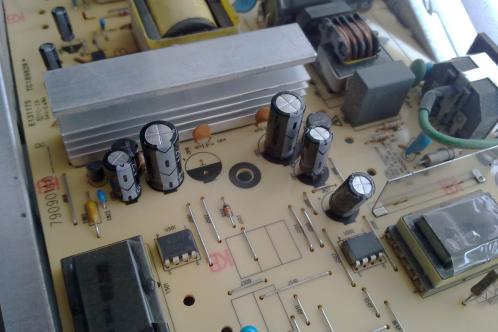
Luckily, the power supply wasn't too hard to reach. You can already see the new caps on the picture by the way.
Besides the caps, the resistors in the output of the transformers for the backlight showed clear signs of having had a hot life so far. The PCB was showing strong colourisation and the resistors itself didn't look too healthy anymore. They were partly desoldered and checked with a multimeter, but their resistance was still ok.
The caps... ofcourse
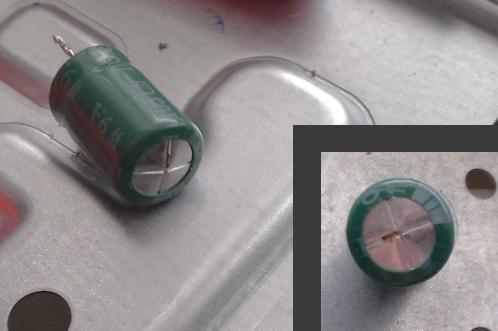 Like many power supplies, this one was feeling the consequences of bad caps as well and I did not have to start an exhausting search for them. Some had already 'puked' their brown juice and the rest was clearly bulging.
At the electronics store just around the corner, some replacements were bought and soldered in. It was nice that the replacement-caps were at least Jamicon-types. Even these, that are not the best but are far better than some other cheap caps, are getting harder and harder to buy at real stores.
Unfortunately, I did not make a parts-list with the types you need, the reason I can't tell you which voltage and capacities you need. I also didn't have my capacity-meter with me: the results would probably have been hilarious.
Improvise with a replacement tactile switch
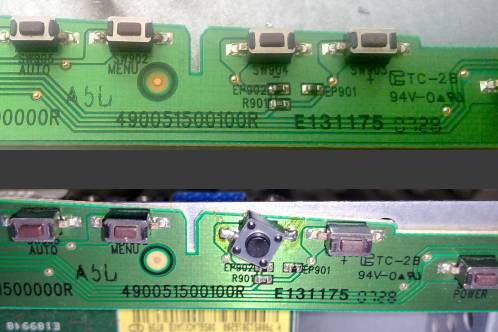 Besides the caps, also one of the menu-buttons was taken care of. After a lot of use, the most used button was worn out beyond reasonable limits.
The store did not have this particular type of tactile switch (which is a regular type at 'my' store) and with a rather standard push-button, we fixed something.
The black push-button itself was just a little too long, but using the concrete floor to scrape it along worked as well (he had just moved and did not have sanding paper).
The switch was mounted diagonally because the contacts of these kind of switches is running diagonal across.
Simply connected to test it
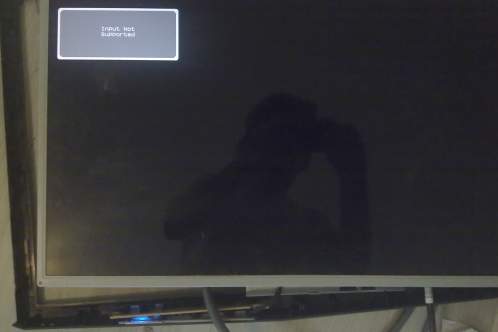 The monitor was being fully connected before it was being reassembled, to test it first. In this case, I really recommend doing so, as it's such a rather tough screen to open.
With plugging in mains power, the standby-LED lit up: that was a good sign.
Turning the screen on quickly showed a reassuring message on the display: 'Input not supported' was clearly readable moving over the screen.
If you want a thorough test, you connect a source to your screen at this stage, to check if it can really provide image (this will save you a possible re-opening of the screen in case of problems)
Because the screen was in perfect working order before it went defect, I found it unnecessary to do so.
Finally a game of Geometry Wars
We unplugged mains-power, reassembled the screen and connected it to the Xbox that had to deal without a screen for a while.
With great joy, he played a game of Geometry Wars. A clone of this game is Gridwars, that I like to play myself once in a while, but the original was far harder to play.
